Brick masonry can withstand the elements and is one of the most durable building materials available. However, you must maintain and care for it. A strong brick wall can remain for a century without needing to be repaired; however, mortar joints begin to show signs of wear after 20-30 years. If mortar joints are crumbling or exhibiting degradation, they must be rectified immediately.
What is Mortar?
Mortar is made from sand, cement, and water, which react chemically to make a hard material. Mortar is the "glue" that joins masonry pieces such as brick, stone, and terracotta together so that the assembly sheds water. When putting together masonry, the mortar is applied full depth and tooled. While mortar is long-lasting, it does deteriorate with time, necessitating care to keep the wall weathertight.

Why Mortar Deteriorates?
Weathering removes the mortar's outer face, such as freeze/thaw cycles. As a result, the mortar can crack when exposed to the differential movement of seismic activity and building settlement.
Unmaintained roofs can transfer water into the wall system, resulting in efflorescence or salt depositions on the wall's surface. This same wetness can cause dirt to accumulate and biological development to occur, hastening the deterioration of the mortar. Finally, a previous poor repointing job with insufficient mortar or a lack of joint preparation might cause damage to the substrate masonry units.
Only certain elements need to be repointed. This is good since original mortar joints are preferable to repointed joints. However, the new mortar must match your existing joints. Otherwise, you will have a mismatched look.
Choosing the appropriate mortar goes beyond just getting the right color. Although it may appear paradoxical, if the new mortar is excessively strong, it might affect the integrity of the masonry building and potentially cause further damage. Therefore, the mortar chosen for the work should be the same strength, if not slightly weaker, than the original mortar.
Weather and environmental wear and tear will require repairs to even the best-laid brick at some point. You may have heard the terms "repointing" or "tuckpointing" if your structure requires brick repairs. Although not synonymous, tuckpointing and repointing are frequently used interchangeably in the masonry industry. This can cause some consternation. It is critical to distinguish between the phrases and what they imply for industry professionals and their clients.
Even though both repointing and tuckpointing entail installing new mortar joints to a brick structure, the processes differ slightly. If you discover that your chimney or wall has some mortar damage and requires repair, you must assess if tuckpointing or repointing work is required to remedy the issue. Better yet, enlist the assistance of an expert to examine the situation. What is the distinction between repointing and tuckpointing?
Repointing Vs. Tuckpointing
Repointing is the process of fixing crumbling or broken masonry joints. Mortar joints are critical since they are used to sustain the building. Water and moisture can easily enter the masonry when mortar joints are broken. Any exposed portions will erode over time. Repointing is performed to reseal mortar joints to prevent future damage. Repointing is done to reseal mortar joints to prevent future deterioration.
Moisture exposure and repeated freezing and thawing cause mortar joints between bricks to break, making your home vulnerable to dangerous water damage. Tuckpointing not only prevents mortar joint deterioration and restores structural stability, but it also protects your home's brick structures from harmful dampness. Water seeps into the brick surface when the mortar fails and can cause extensive damage, such as mildew, rotting wood, and mold.

Tuckpointing is said to be the process of filling mortar joints in brickwork with two distinct colors of mortar. One of the two hues used is designed to seem like real bricks. As a result, it blends in and appears seamless. The second color employed is contrasting and is intended to represent mortar joints. By incorporating the alternate color between the initial brick-colored mortars, the mortar joints appear fine rather than thick.
Tuckpointing was invented in the late eighteenth century in England. The process was developed to mimic the appearance of rubbed brick, a more expensive building material that swiftly gained popularity at the time. Tuckpointing was used by homeowners who wanted to replicate the appearance of these high-end rubbed bricks without spending so much money. The true definition of tuckpointing is no longer commonly used, but it has not been completely forgotten and is still linked to the modern repointing method.
Signs Your Mortar Needs Repair
As previously stated, the mortar joints on a masonry construction might show signs of wear in as little as 20 to 30 years. Look for evidence that your mortar joints need to be repaired, such as,
- More than 6mm mortar erosion is seen.
- There are spots or entire sections of disintegrating mortar visible.
- Hairline cracks can be seen in the mortar.
- There may be fractures or gaps between the actual bricks and the beginning of the mortar.
When to Repoint
Before repointing, determine if the building has to be cleaned. Cleaning before repointing guarantees that all damage is obvious when there is a lot of soiling, lichen, moss, vines, and so on. It also guarantees that the new mortar bonds to a clean, sound substrate. More moderate cleaning may be required after the repointing job is completed to remove mortar stains.
Consider the number of failing joints while deciding whether to repoint partially or completely. If 10 to 50% of the joints have deteriorated, repoint 50% of them. If it is more than that, repoint completely.
If there are multiple colors of mortar present, it is most likely time to repoint the building completely. It is difficult to survey the entire building precisely and utilizing this guideline will offer consistent quantities to obtain equal bids with fewer modification orders. Furthermore, the cost of access to repoint (scaffolding, swing stage, or manlift) is a significant part of the cost of repointing and remains relatively constant, whether partially or fully repointing.
When to Tuckpoint
At this time, you may want to rush out and inspect every inch of your brick home or commercial building. But, before you do, consider the following warning indications that your house may require quality tuckpointing services soon:
- Your brick construction has fractures or signs of disintegration.
- The mortar has flaws or gaps in it.
- You detect a yellowish covering or a weathered/flakey surface on the mortar.
Finding any damage or defects in a structure is typically easier when it is clean, so try power washing your building before inspecting its brickwork. Remember that if you allow your mortar to decay without repairing it, you may need to invest in more expensive brick repair, or your structure may collapse.
The Process of Repointing
The procedure of removing deteriorated mortar from a joint and replacing it with new, sound mortar is known as repointing. Depending on the joint's size and the mortar's hardness, masonry saws, plunge reciprocating saws, hammers, and chisels may be used to remove the mortar.
Step 1
The process of removing deteriorated mortar from a joint and replacing it with new, sound mortar is known as repointing. Depending on the joint's size and the mortar's hardness, masonry saws, plunge reciprocating saws, hammers, and chisels may be used to remove the mortar.
Step 2
The cut-out joint must be squared off and cleaned out; it must not have a V or U form and be free of dust and unsound mortar. To remove dust, rinse the joints.
Step 3
Make a peanut butter-like mixture of sand, cement, and water. To produce a consistent appearance, quantities must be precisely measured. Then, it should be combined in a mechanical mixer for optimal results.
Step 4
Once the junction is damp but not wet, crush the mortar into it in 1/4 layers or "lifts." Avoid streaks or droppings on the masonry components by keeping the mortar within the joint. Tool the junction to match the current contour once the mortar is "thumbprint hard."
Step 5
Control the shrinkage of the mortar. Controlling mortar shrinkage is crucial when repointing historic buildings. Part of the approach is ensuring the aggregates are properly graded, with the biggest grains not exceeding 30% of the mortar joint. To prevent shrinkage cracks, use a firm mortar and hydrate every 3-6 hours for several days following placement.
The Process of Tuckpointing
Here are the processes involved in tuckpointing, whether you opt to do it yourself or hire a professional.
Step 1
Begin by removing the existing mortar joints to a depth of about one inch. Masons frequently use an angle grinder to remove the mortar, a dirty job requiring a respirator mask. You can also use hammers and chisels.
Step 2
Using a masonry brush or a high-pressure air nozzle, remove dust and debris from the ground-out mortar joints.
Step 3
Coordinate the mortar color to the hue of the old brick. This requires blending with mortar pigment, and it often takes trial and error to reach a precise match. Note the exact pigment-to-mortar ratio to blend subsequent batches of the same color.
Step 4
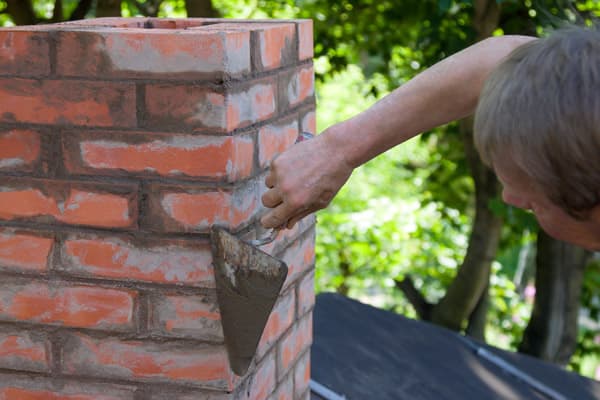
Fill the joints with new mortar, beginning with the horizontal joints. Before tackling the job yourself, it's a good idea to see a mason at work because they use trade tricks to avoid getting mortar all over the bricks.
Step 5
Smooth the wet mortar into the joints to resemble a flat surface or gently indented curve (depending on your desired look). When the fresh mortar has hardened but is still semi-pliable, scrape straight lines in the centers of the newly filled joints with a straightedge and a tuckpointing tool. Make an effort to keep the lines as straight as possible. Apply lime putty to the scraped lines carefully to produce contrasting fillets, then trim away the excess.
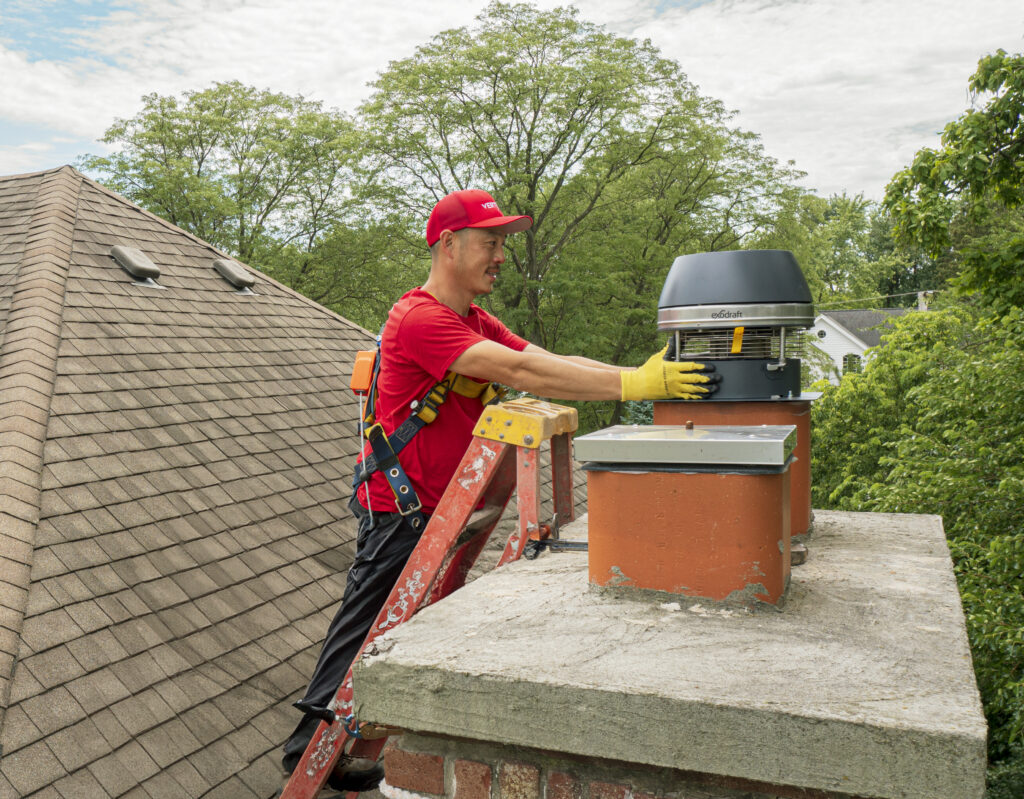
Chimney Masonry Repair
That's all there is to it. Repointing and tuckpointing are the same: to repair depressed junctions. The procedure is nearly identical, except that tuckpointing requires applying a tiny line of contrasting color in the center of the joints. Both procedures are essential for maintaining the structural integrity of your brickwork. They keep water from penetrating the bricks and compromising their durability.
Vertical has been in the chimney care business for over 35 years, and we have devoted our time and energy to bring safety to your home. We have spent all 35 years making sure we give our customers the best possible service. Take your chimney to a higher standard with Vertical and contact us today to get a free quote!