Picture this; you just moved into your dream house and the trim is beautifully unique, the kitchen is spacious and welcoming, and with a little cleaner, the hardwood floors will undoubtedly shine.
However, there is one thing that’s throwing the living room off, giving it a dated late 90's feel and there’s no question about it—the fireplace surround is wholeheartedly to blame.
Even if you haven’t lived this exact scenario, it could be the case that your living room, basement bar, or bedroom needs a refresher, and sometimes it all starts with a bit of paint on the fireplace surround.
Where do you start? The fireplace burns hot, regardless if it's gas or wood burning, so you want to use the right materials for the job.
Before You Start: Quick Tips
Before you begin anything, make sure your fireplace has the gas turned off. The last thing you will want is to be working on painting your fireplace surround and risking a potential mishap with the pilot light and leaking gas!
Don’t pick up the paintbrush quite yet, because you'll have to clean the fireplace before slapping on a fresh coat of paint. Cleaning your desired surface first is a basic pro paint tip, whether you're painting a piece of furniture or your walls, this is always the first step.
Clean your brick before you paint with a water and vinegar solution, a half and half combination of both ingredients.
For tougher surfaces, like brick, grab some non-sudsy trisodium phosphate (called TSP), and don’t forget to wear a pair of gloves when you apply it. While it's tedious to wipe down the surfaces beforehand, you don’t want to be painting over cobwebs, dust or any other debris. This will ensure a smooth layer of paint for your finished product.
Gather your supplies and go down your checklist for the entire project so you won’t forget anything midway through. This will remove any soot and residue from your fireplace surround.
You’ll need a rag for wipe down, water and vinegar to concoct a cleaning solution, paintbrushes or rollers, painter’s tape to guide your painting and of course, paint.
It’s not a bad idea to tape off the areas you don’t want to get paint on, like the floor, walls, and other cracks or crevices. Lay a drop cloth in case of spills or drips, that way you can have an easier cleanup and protect your floors.
After thoroughly cleaning the surfaces you desire to paint, dry them down. Excess moisture can be the downfall of any paint job, and you certainly don’t want the area to be wet before applying the paint.
Choosing the Right Paint
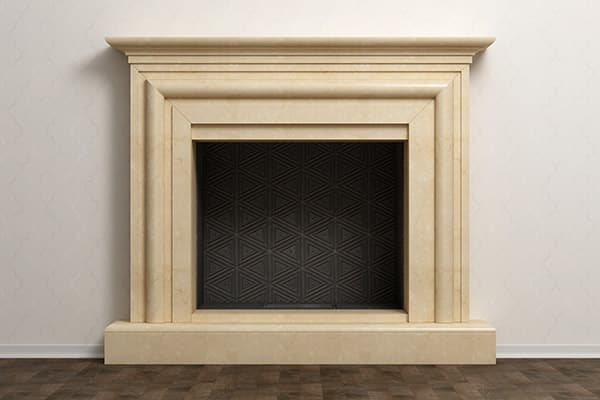
Of course, this tip is crucial for your finished product, and it all depends on what material your surround is comprised of. Are you painting marble, wood or brick? All three are common in households across America and each requires different approaches when it comes to painting them.
For painting a fireplace surround, select a paint that's rated to withstand high temperatures. Your fireplace will produce extreme heat that average paints aren't designed to stand up against. Your best method? Priming first.
For a primer, you’ll want something oil-based. In terms of paint, you may want to opt for the cheaper brands, but you’ll end up paying more in having to apply third coats and future touch-ups.
Follow the manufacturer’s instructions and apply the primer to the entire surface, giving it ample time to dry. By priming, your paint will adhere better to the fireplace surround and allow you to wipe soot and ash residue off more easily.
For your paint, the general rule for fireplace surrounds is an indoor, latex, and heat resistant paint. You can select either flat, semi-gloss or gloss, depending on what look you want your fireplace surround to have.
For a fireplace, selecting paint with a little gloss isn’t a bad idea because it's much easier to wipe down and clean.
If you're in home improvement mode and looking to boost your home's value as much as possible, check out these paint color ideas that have the best resale value.
Fast Tips on the Painting Process
If you're accustomed to painting anything in your time spent as a DIY homeowner, then you're already aware that using a paintbrush for the entire job will leave streaks in your final coat (read about DIY chimney sweeping here).
No matter what the surface of your fireplace surround is made of, using a roller goes a long way in terms of a perfectly flawless finished look. The roller coats the surface of the fireplace surrounds evenly, distributing the paint in a smooth layer. Find a roller that is the appropriate size and thickness to apply your paint to your surroundings and you can’t go wrong.

Take Your Time with Painter’s Tape
Sticking down painter’s tape is a painstaking process, there’s no doubt about it, but you'll thank yourself in the final stages of painting. Skipping this step only means accidental splotches of paint outside of the desired surfaces of the fireplace surround.
Edge Lines
Another perk with painter’s tape is that it allows for crisp edge lines for a more professional look, instead of forcing yourself to carefully paint to the very edge of the surface area, which can end up looking sloppy and unclean.
Painter’s tape should be peeled off before the final coat is completely dry, about halfway through its drying process. By taking the painter’s tape off at this point, you can prevent it from causing the layer of paint to peel and chip off.
Going Bold
Don’t be afraid to choose a bold paint color to brighten up your fireplace surround. Your fireplace acts like an accessory to the interior decorating and a bright, vibrant, complimentary color can add to your already implemented room themes.
Usually, in the center of a room for optimal gathering around, fireplaces draw the eye to this key focal point. With a splash of color, you can only further enhance it.
Nook and Crannies
Your roller shouldn’t be the only applicator tool you utilize in your painting process. Fireplace surrounds have crevices only a small paintbrush can get access to, and although you may want to avoid having to clean out yet another tool, you won’t regret the finished look when using a narrow tipped brush.
Marble Surrounds
Yes, you can paint a marble surround, but you'll need the help of some heavy-duty sandpaper. With the use of at least a 220-grit sandpaper, sand the entire surface of your marble surround, ensuring you are covering every inch where paint will be applied.
Use a primer that can bond with a glossy surface, and after applying a layer or two of primer, use the same strength sandpaper to thorough go over the surround once again.

Painting Your Fireplace Surround Doesn't Have to Be Hard
Painting your fireplace surround is an easy task, even for the most inexperienced homeowner. If you aren’t sure what type of paint you may need to use for your surround’s material, ask a paint specialist at a hardware store or paint store.
It’s their job to help on special projects such as these and you certainly don’t want to invest in the wrong paint that can’t withstand the heat from the fireplace!
Fireplace Inspection and Cleaning
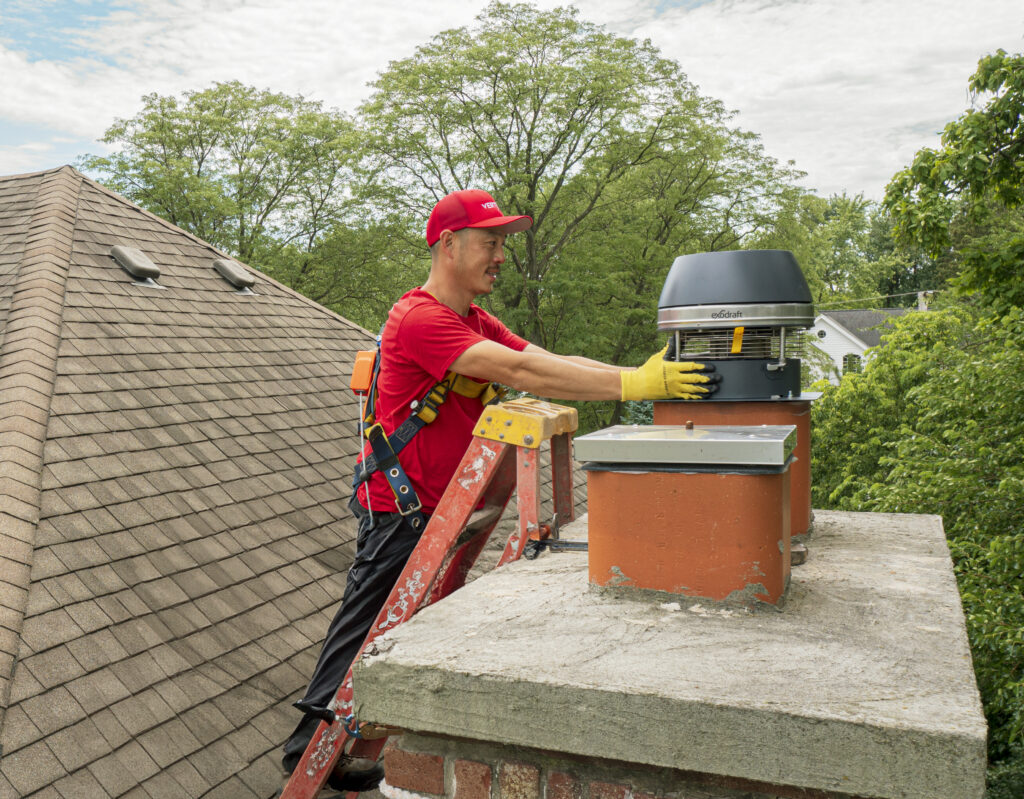
Before you paint your fireplace, you might want to check the last time you got your chimney inspected and cleaned. As a rule of thumb, homeowners should get their chimney clean and inspected at least once a year so all that creosote and dirt can be removed.
Chicago and the surrounding suburbs go with Vertical Chimney Care for their professional cleaning and inspection services. Since 1985, we've served thousands of customers because we are the most trusted chimney and fireplace cleaning services around. Contact us today to speak to a specialist!