How to Seal a Flue Pipe to a Chimney

Category: Chimney

That pesky draft you’ve been noticing could be coming from your chimney.  Over time, the flue may experience gaps from regular wear and tear, requiring a fresh layer of sealant. This can mean bad news for your home like an unwanted draft, higher energy bills, and not to mention an unsealed flue pipe can expose the interior of your chimney to potential water damage.  For you, that might mean a future of costly repairs. A flue pipe can be located at your fireplace, your furnace, or even your water heater.  It’s an essential unit that helps expel exhaust gases and byproducts of combustion into the outside atmosphere, keeping your home safe and pollution-free.  For most heating components in your house, there’s a flue pipe to ensure healthy ventilation and provide a safeguard against fires. Chimney flue pipes are found—you guessed it—inside of the chimney.  Most of these flue pipes are straight because this channel makes for a superior draft and insulation is commonly comprised of heat resistant and energy efficient material like brick, tile, or ceramic.  With carbon monoxide perhaps the biggest safety concern with chimneys and gas fireplaces, it becomes critical to make sure your flue pipe is sealed and secured for proper drafting. Flue Pipe

Sealing Flues: Techniques

When you’re sealing any kind of opening on a heating device (a furnace, water heater, or a chimney), you’ll need to pay special attention to the material you use to seal the flue as well as the building codes that regulate clearance. Per Energy Star, building codes typically require that there is a 1-inch clearance from metal flues, as these flue pipes become incredibly hot, from any combustible material like insulation.  Energy Star also suggests specific material for flues, vents, and pipes on varying heating equipment:
  • Furnaces and water heaters: should have pipes made of galvanized metal and sealed with aluminum flashing and high-temperature silicon caulking.
  • Chimney: should have pipes made from masonry or metal and in similar fashion, be sealed with aluminum flashing and high-temperature silicon caulking.
  • Plumbing: should have piping comprised of cast iron or PVC and be sealed with expanding foam or caulking depending on the gap.

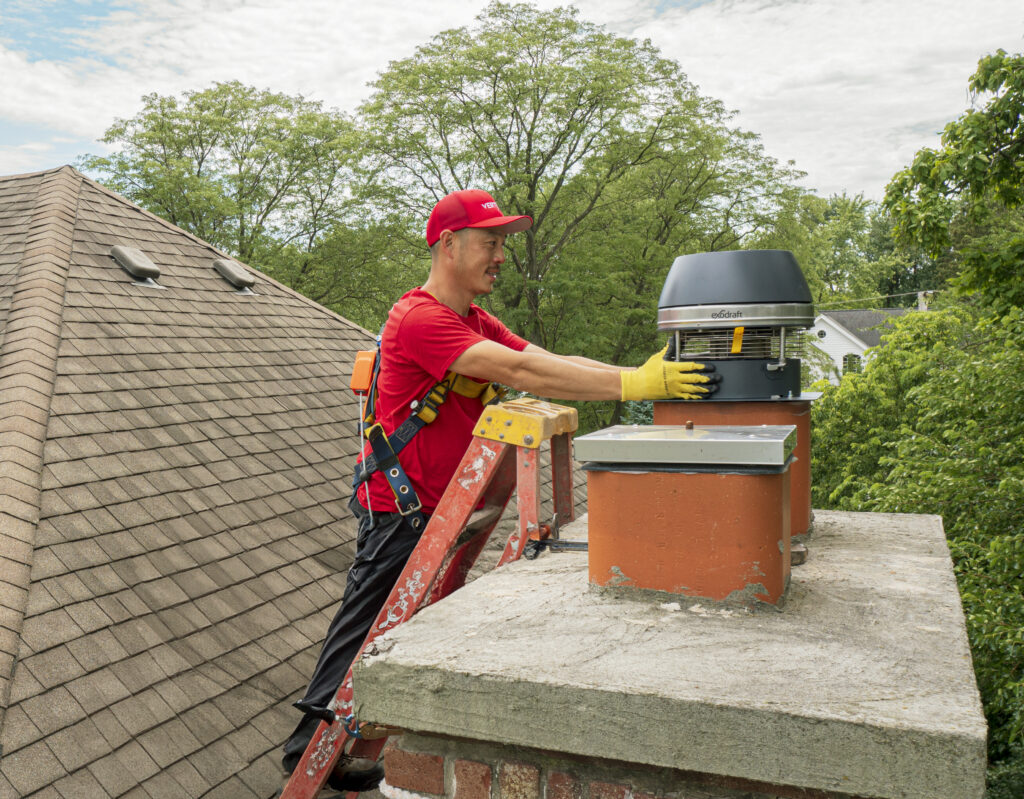
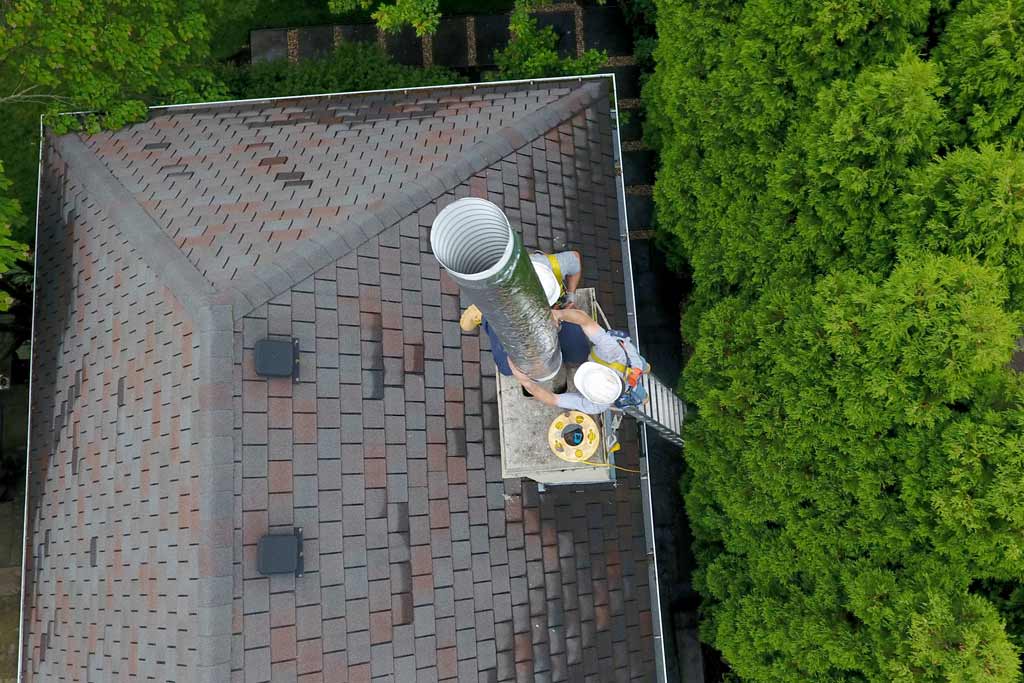
Sealing the Flue Along the Chimney

You can install a chimney flue channel yourself if you’re equipped with a basic background in home improvement.  While you don’t need to be a professional, you should have one come in after-the-fact for an inspection just to make sure everything was installed correctly.  When dealing with carbon monoxide and combustion byproducts, you can never be too cautious. Sealing the flue pipe is a part of the installation process.  First, you’ll need to make sure the chimney is as clean as possible, removing any lingering debris, insects, or old soot.  A contractor should be called off and the installation should be put off if your inspection comes across any missing brickwork or damaged masonry. The flue is created out of metal sheets.  You’ll lay these sheets out, rolling them so they’ll fit inside the chimney while placing screws along their edges to secure them in place.  Your flue kit (that can be purchased from a home supply store) will provide you with a string that will allow you to insert the sheets inside the chimney, attaching it to the cap. You’ll then insert the flue liner, lowering it down inside of the flue itself.  The flue is then sealed with a band that should be included in your kit.  Sealing the flue is essential in preventing gasses from escaping back into your home. flue pipe

Sealing the Flue Opening

Traditional fireplace dampers leak, so sealing your fireplace flue is smart when you aren’t using it like during the off-season.  This action is different than sealing the flue itself, which runs the length of the chimney.  Here, you’ll be sealing off the flue’s mouth from your home to prevent drafts when the fireplace isn’t in use. There are few options that will allow you to easily seal off your flue: a silicone rubber seal or inflatable sealer.  Both are efficient at sealing off the flue, even more so than traditional dampers, and are relatively inexpensive.  Sealers can be found at chimney supply stores, masonry stores, or online.

Stove and Chimney Pipes

Wood or gas burning stoves also have pipes, called stove pipes and chimney pipes.  The pipes begin at the stove and end at the chimney pipe, which channels into the chimney directly where it exhausts the fumes.  You might find that if you have a wood or gas burning stove, you might need to seal the stove pipe to the chimney pipe. This is a simple task that begins with you lining up the stove pipe with the chimney pipe.  One end of the chimney pipe will be crimped and this is where you’ll slide the stove pipe over, pressing them together firmly.  Next, you’ll just need to drill through the sheet metal with the right drill bit, placing a self-tapping screw against the stove pipe’s overlap to secure it.

Sealing Different Types of Flue Pipes

As you can see, there are a lot of different types of pipes: stove pipes, chimney pipes, and flue pipes.  There’s an easy way to seal each of these and it doesn’t necessarily require special skills.  Just make sure you’ve closed all of the gaps because no matter what kind of pipe you’re working with, its purpose is to properly expel dangerous gasses out of your home. At Vertical Chimney Care, we regularly inspect chimneys from outside and inside. Contact us today to speak with a product specialist.

Protect Your Home and Family