You need to ensure that your chimney is as safe as possible. This means, you need to have a chimney liner installed in your unit if one isn’t already there. We’ve got a lot of ground to cover in this article so we’re going to get started on how to install a chimney liner.

What Is A Chimney Liner?
A chimney liner is a conduit (typically made of clay, ceramic, or metal) that's installed within a chimney intended to take all the combustion products and transfer them to the outside environment.
This greatly assists in keeping your chimney operating in a safe and enjoyable way. The liner accomplishes this in a few key ways. First, it prevents improper heat transfer; without the liner the wood framing around your chimney is far more likely to catch fire.
Second, it prevents the actual structure of the chimney itself from deteriorating from the byproducts of the combustion process. Finally, using an appropriate liner configuration increases the efficiency of whatever appliance you're running on the chimney.
How To Actually Install a Chimney Liner
We do our absolute best to provide you with helpful content that's simplified as much as possible. That being said, this is a fairly complex and involved process – it will take some dedicated following but definitely be worth it for anyone looking to complete this type of install. However, it's best left to the pros.
1. Review Chimney
First, you need to get a review done on the chimney itself. Use a flashlight to look up into it and survey for any bends or restrictions that will pose a challenge to pulling the liner through.
2. Appropriate Diameter Liner and Measurements
Next, you’ll need to confirm the appropriate diameter liner to use. If you have either a wood stove or insert consult with the manufacturer on this. If you have an open fireplace you can find calculators online that help you deduce the appropriate option – we recommend the one found here.
Now go ahead and measure for the length of the liner. Measure from the top of the chimney crown area down to where the termination needs to stop – add an extra 12” to give yourself some margin.
3. Buy a Chimney Liner
Time to go buy a liner using the measurements and specs that you have deduced above. There are a few different options out there but for the purpose of this article we’ll be assuming a flexible steel liner – the liner should come in a kit with everything necessary to accomplish the installation.

4. Flatten the Liner and Apply Insulation
Flatten out the liner on a level surface and then hook up the bottom connector to the bottom of the liner and then fasten a hose clamp to the connector with a wrench.
Next determine whether you’ll be using an insulation blanket or pour-in insulation; a good rule of thumb is to proceed with a blanket if the gap is 2” or wider between the liner and the chimney.
If you do move forward with a blanket go ahead and measure the circumference of the bottom termination, multiply that by 3.14, and then add 1” of overage – now cut the blanket to match this calculation.
Get that insulation, the blanket, laid flat on the ground with the foiling facing down, center the liner on it, and then wrap the insulation around. Be sure to leave at least a 1” overlap so you can seal with the tape.
5. Use Spray Adhesive, Foil Tape and a Hose Clamp
Use spray adhesive to affix the insulation to the liner working up in 12” segments and using foil tape to seal the seams. Do this until the liner is completely wrapped. Seal the long vertical seam with one long piece of foil tape. Roll out the wire mesh that came with your kit and cover the entire liner (including the bottom connector).
Down at the bottom connector use a hose clamp to hold the mesh in place, go and pull the mesh taut at the top, and then use another hose clamp to secure it in place; use snips to cut any excess mesh that goes past this.
6. Attach Rope and Get on the Boat
Do a quick review at this point of how to pull your specific liner through the chimney; this will somewhat vary depending on manufacturer/brand so well acquaint yourself with the manual. There should be a rope included with your kit – attach that to the pulling cone or bottom connector (depending on what specific liner you have purchased).
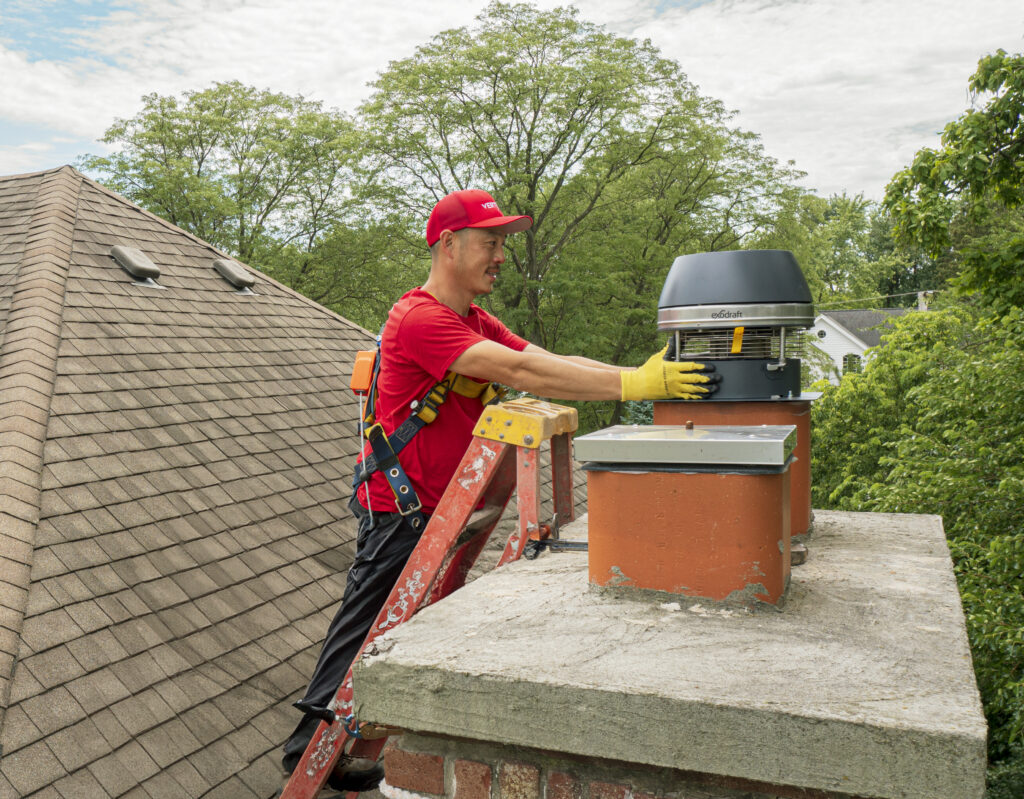
Get on the roof by the chimney and have someone else assist in feeding the liner up to you – they will then need to position themselves near the bottom of the chimney in the interior. Throw the rope down the chimney and let your partner grab it.
7. Position the Bottom Connector
Next you’ll position the bottom connector centered in the chimney cavity and slowly guide it down while your partner guides from below with the rope – do your best to avoid any snares or snags.
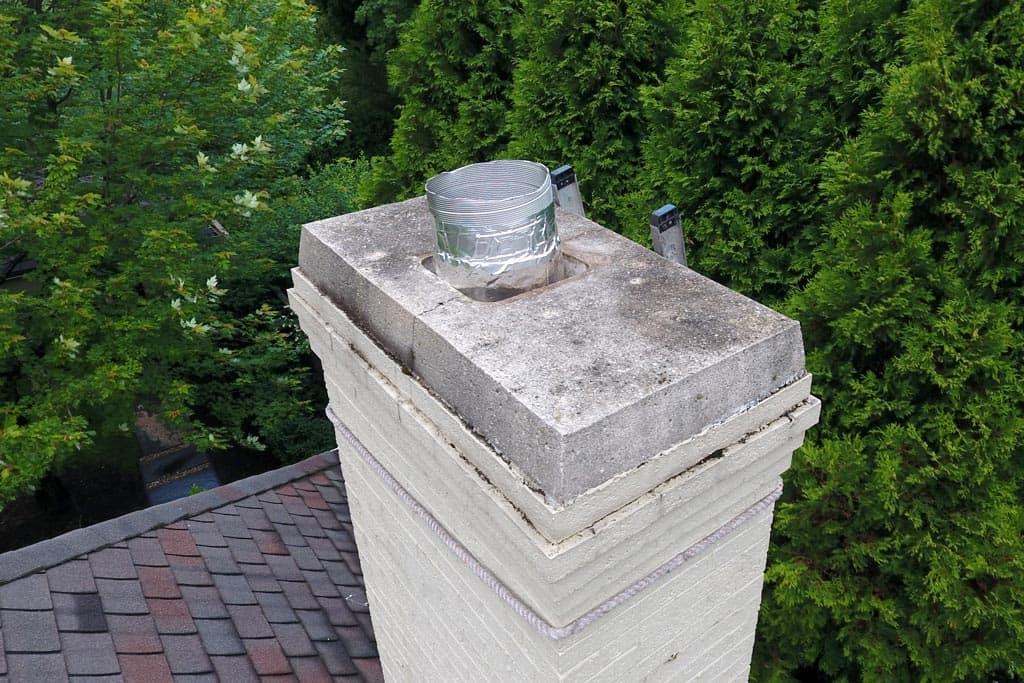
The initial install will be complete once the bottom connector has reached the appropriate height for your chimney – you can then use snips to cut the excess at the top, just make sure you leave 4” worth past the chimney crown.
8. Seal the Chimney Crown
Have your partner hold the liner centered and then seal the chimney crown with silicone caulking – place the top plate over the liner and press it on down into the caulking to create a good seal. Secure the quick connect clamp around the liner – do it tightly and using tap con screws in the drilled holes.
9. Attach Connector to the Liner and Connect the Tee Snout
Now get the appliance connector attached to the liner and the bottom termination point. Find the tee snout on the bottom of the liner – use those snips of yours to cut out a hole in the mesh and insulation where this snout will connect to the tee body.
Go ahead and fasten the tee snout and the tee body together via the pre-attached metal and then wrap it around to the backside of the tee body; have the connection covered with leftover insulation. Finally, connect the tee snout to the heating appliance and you’re all set!
Hire Chimney Liner Installers for the Job
Overall, this job takes a lot of work. You are in danger of getting hurt and one slip up will cause you thousands of dollars in chimney damages. That's why you are better off with Vertical Chimney Care. We have served Chicagoland for over 30 years with great chimney services and cleaning. We have aluminum and stainless chimney liners. Contact us today to speak to a product specialist.